Training
The Training page on our website showcases a variety of training activities conducted by Training and Placement Cell along with professional student bodies under the T&P department. It highlights the initiatives aimed at enhancing the skills and knowledge of students, preparing them for future careers. Additionally, the page features major events organized by these student bodies, providing valuable opportunities for networking and career development.
Huge Events Section
The HugeEvents Component, defined in the index.astro file, is a flexible and responsive section that showcases various events organized by Training and Placement Cell. . It allows displaying event details such as the event name, an associated image, and a description. This component is designed to provide an engaging and visually appealing way to present event information on the T&P Website.
Lets take a look at how we implemented this component in our website.
Open
index.astrofile.We now added the different events that are conducted by the organizations under T&P.
The
<div>classes in the provided code snippet define the styling and layout of the elements within the component.We them mention the event name, and event description in the code as shown below.
We will see how we implemented those changes:
index.astro<div class="flex flex-col md:flex-row md:justify-center gap-y-4">
<div class="flex flex-col md:w-1/2">
<div class="py-3 pl-3 text-3xl font-title bg-blue-50 rounded-lg text-blue-600">
<!-- Event name goes here -->
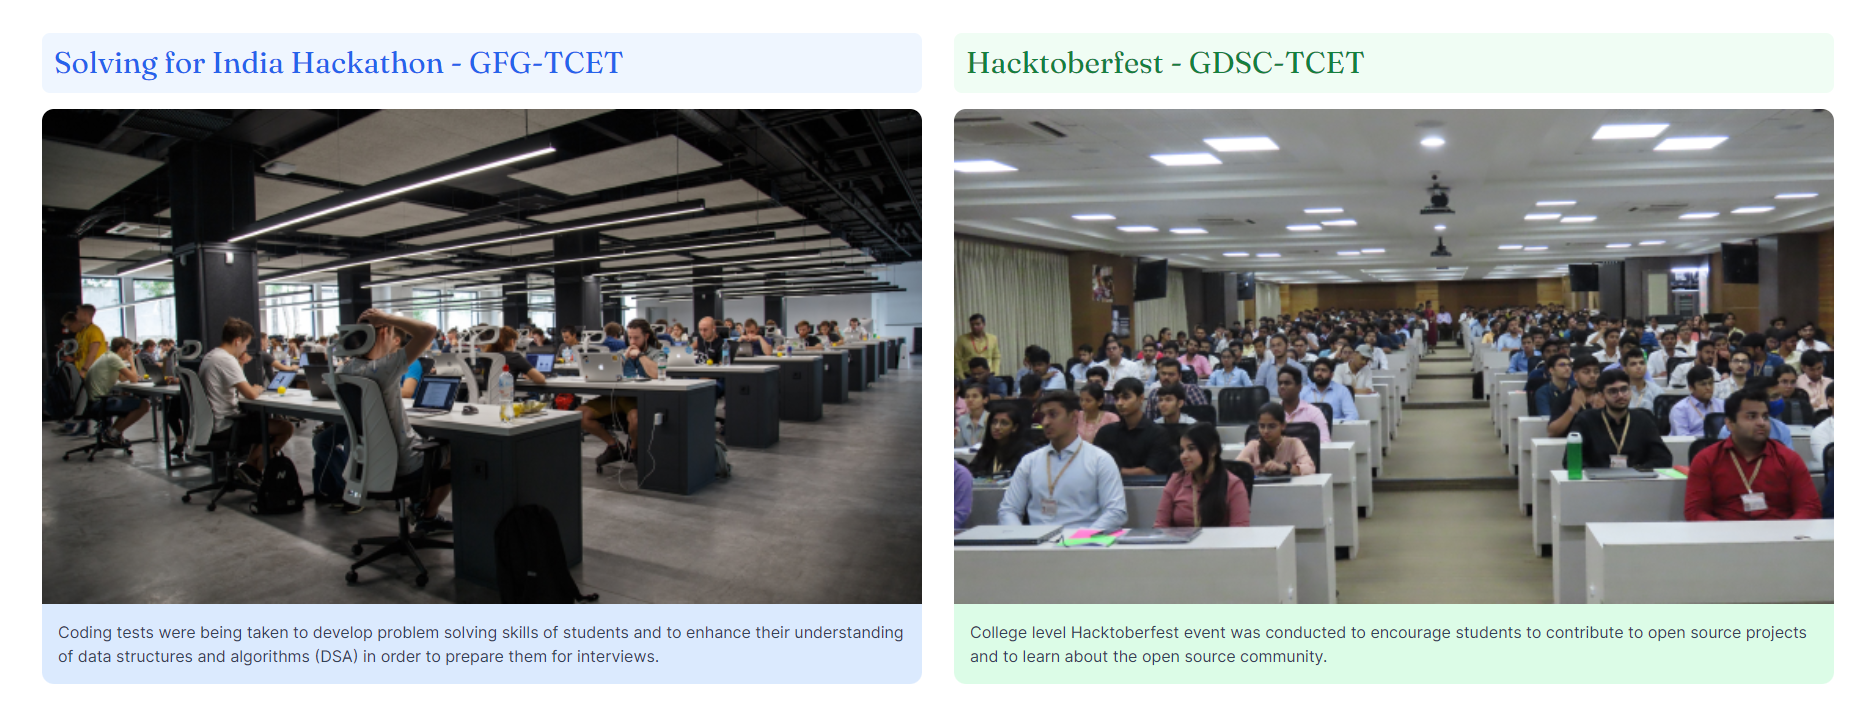
Hacktoberfest - GDSC-TCET
</div>
<div>
<img class="mt-4 object-contain w-full rounded-t-xl" src="../../events/pic_1.png" alt="pic_1">
</div>
<div class="bg-blue-100 text-slate-700 font-Inter text-sm sm:text-base rounded-b-xl p-4">
<!-- Event description goes here -->
College level Hacktoberfest event was conducted to encourage students to
contribute to open source projects and to learn about the open source
community.
</div>
</div>
<!--Other Huge Events-->
</div>Also, we added an
imagesection in the middle to include some event pictures or banners.
Similar steps were carried out for multiple Huge Events.
After completing the above steps, we successfully incorporated the Huge Events section in our website. You can see the snapshot below:
Professional Bodies Section
This section showcases the professional student bodies of the Training and Placement Cell. It provides information about the different student bodies and their respective logos.
It was implemented in a similar way as the Huge Events Section. Lets have a look at the changes that were made to achieve this.
Opening
index.astrofile for Professional Bodies Section.The first
<div>container contains the main heading of the section.Then, next we added the tagline of the section as shown in line number 8.
After this we defined another parent container
<div>which then included the images of the professional bodies withing the<img>and their name mentioned in the<span>tags.index.astro<div class="flex flex-col justify-center align-middle sm:w-2/6">
<div class="font-semibold text-2xl xl:text-3xl font-Inter pb-2 uppercase">
<!-- Title of the student bodies section -->
professional student bodies of training and placement cell
</div>
<div class="text-slate-700 font-Inter text-lg">
<!-- Description of the student bodies section -->
Working together for a better Future!!
</div>
</div>
<div class="md:flex-col sm:w-3/5 mt-4">
<!-- Student body section 1 -->
<div class="flex justify-left xl:justify-center gap-x-4 items-center bg-gray-50 rounded-lg p-6">
<img
class="w-10 object-contain"
src="../../logos/tcet_shastra.png"
alt="tcet_shastra"
/>
<span class="text-lg">TCET Shastra Coding Club</span>
</div>
<!-- More student body sections can be added here -->
</div>
Similar steps were carried out to add multiple Professional Student Bodies.
After completing the above steps, we successfully incorporated the Professional Bodies section in our website. You can see the snapshot below:

Similarly, we have also included the TCET Open Source section in the Professional Bodies.
You can refer it here: TCET Open Source section.
Hero Section
While implementing Hero Section, we wanted to add a Carousel Section where we can display different images, so we created an Carousel.jsx file to implement a Swipe Carousel.
Below are the steps for implementation:
An array called
datais defined, containing objects withcaptionandimgLinkproperties. Each object represents a slide in the Swiper component and holds the caption and image link for the slide.Carousel.jsxconst data = [
{
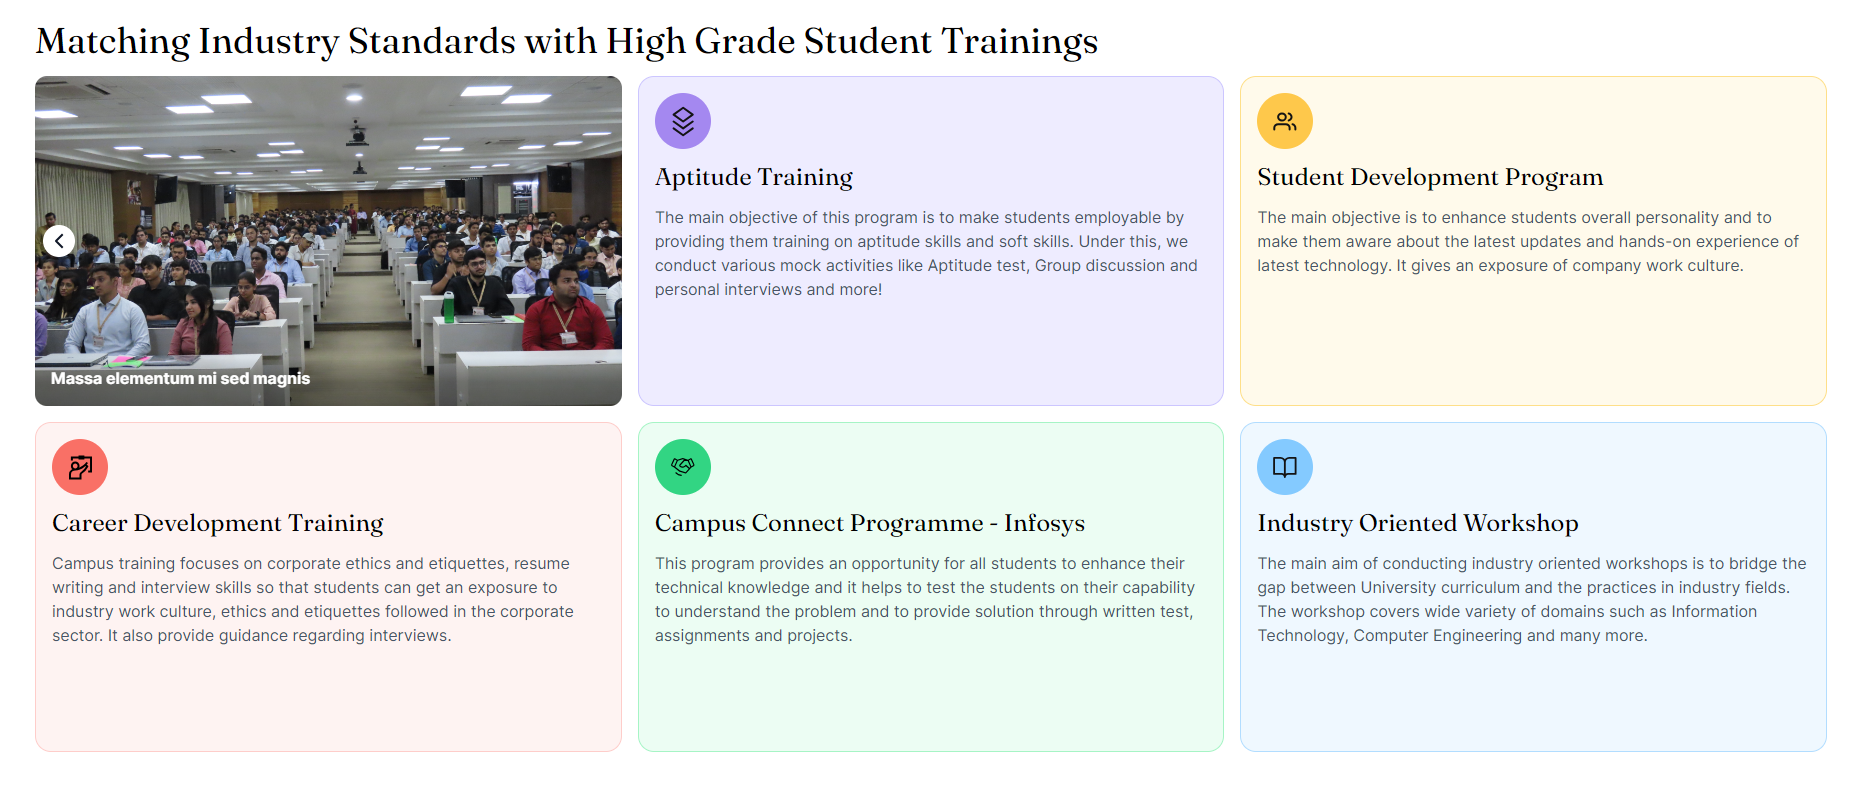
caption: "Massa elementum mi sed magnis",
imgLink: "student-workshop.png",
},
// Other Image Links and Captions
],We then defined a Swiper component in our code to set various configurations and properties. The navigation configurations were updated in this component as we can shee in the highlighted part of the code below:
Carousel.jsxexport default () => {
return (
<Swiper
// install Swiper modules
navigation={{
prevEl: ".swiper-prev",
nextEl: ".swiper-next",
disabledClass: "swiper-button-disabled",
}}
>Now we headed over to the
index.astrofile to add other components in the section.We added the Carousel component from the
Carousel.jsxfile, and in the next container we defined various activities under training with a short description about the same. The svg icons denoting the activites were also added.index.astro<div class="grid lg:grid-rows-2 lg:grid-cols-3 sm:grid-rows-3 sm:grid-cols-2 grid-cols-1 grid-rows-6 gap-4">
<div>
<Carousel client:load />
</div>
<div class="flex flex-col gap-y-3 p-4 rounded-2xl border border-[#CCC6FF] bg-[#EEECFF]">
<div class="w-14 h-14 bg-[#A488F0] p-4 flex items-center justify-center rounded-full">
<img src="/misc/stacks.svg" alt="stack-of-books-icon" />
</div>
<h2 class="lg:text-2xl md:text-2xl text-xl font-title font-normal">
Aptitude Training
</h2>
<p class="lg:text-base md:text-sm text-[#475467] text-sm">
The main objective of this program is to make students employable by
providing them training on aptitude skills and soft skills. Under this,
we conduct various mock activities like Aptitude test, Group discussion
and personal interviews and more!
</p>
</div>
<!-- Other activites added -->
</div>
Similar steps were carried out to add multiple Training Activities.
After completing the above steps, we successfully incorporated the Hero section in our website. You can see the snapshot below:
With the successful implementation of the provided code, we have successfully incorporated the Training page into our website. Moving forward, let's now explore how we integrated the Attendance Chart page into the T&P Website