Companies
The Companies page of the website gives you information about various companies that visit the institute for the placement procedure. It is accesible through the Placement section on the navigation bar of the TNP Website.
Adding Company Card to the page
How to add the Company Card to the page
Opening
CompanyCard.tsxfile in our projects root directory.The
CompanyCardcomponent is defined as a functional component that accepts two props:imgandname.CompanyCard.tsxconst CompanyCard: React.FC<{} & CompanyCardType> = ({ img, name }) => {
return (
<div className="flex flex-col items-center justify-center gap-3">
<img src={"/InternshipHero/" + img} alt="company-logo" />
<p className="lg:text-base text-xs text-center text-slate-600">{name}</p>
</div>
);
};An
<img>element is added to display the company logo. Thealtattribute is set to "company-logo" for accessibility purposes. Thenameprop is used to populate the content of the<p>element.The companies section is divided into different sub sections including Super Dream Companies, Dream Companies, Normal and Core Companies. The company card is added to the page as per the category of the company.
Save the changes.
Run
yarn devon the terminal to see the changes made in your local environment.
On executing the above steps, the Company cards look like this:

Adding Read More Button
How to display the company in the ReadMore section
Opening
ReadMore.tsxfile in our projects root directory.The
ReadMorecomponent is defined as a functional component that accepts two props:companies(an array of CompanyCardType) andtitle(a string representing the section title). TheuseStatehook is imported which determines whether the "Read More" section is expanded or collapsed.ReadMore.tsxconst ReadMore: React.FC<{
companies: CompanyCardType[];
title: string;
}> = ({ companies, title }) => {
const [readMore, setReadMore] = useState(false);
}A
<button>element is added and it has a click event handler attached to theonClickattribute, which toggles thereadMorestate when clicked. Inside the<button>element, there is a text label "Read More" and an SVG icon representing an arrow.ReadMore.tsxreturn (
<div>
<button
className="w-max py-2 px-4 flex text-slate-600 gap-x-2 items-center border rounded-full
bg-gray-50 hover:bg-gray-100 active:bg-gray-50 transition-all ml-auto mr-8 mb-4"
onClick={() => setReadMore(!readMore)}
>
Read More
<svg
xmlns="http://www.w3.org/2000/svg"
fill="none"
viewBox="0 0 24 24"
strokeWidth={2}
stroke="currentColor"
className="w-6 h-6 text-slate-500 "
>
<path
strokeLinecap="round"
strokeLinejoin="round"
d="M4.5 12h15m0 0l-6.75-6.75M19.5 12l-6.75 6.75"
/>
</svg>
</button>
// Other parts of the code
)A grid layout is used to display the company cards. The grid is responsive and adapts the number of columns based on screen size. The
companiesprop is mapped over to render multipleCompanyCardcomponents, passing thenameandimgprops.ReadMore.tsx// Code from last section
{readMore && (
<>
<div
onClick={() => setReadMore(false)}
className="w-screen h-screen bg-black bg-opacity-60 fixed transition-opacity top-0 left-0 "
/>
// Styling
<div className="pb-4 lg:pb-6 xl:pb-10 ">
<h1 className=" text-2xl 2xl:text-3xl text-center font-title">
{title}
</h1>
</div>
<div className="grid max-h-[70%] overflow-scroll grid-cols-2 sm:grid-cols-3 md:grid-cols-4 lg:grid-cols-5 justify-around gap-6 xl:gap-12">
{companies.map((c) => (
<CompanyCard name={c.name} img={c.img} />
))}
</div>
</div>
</>
)}
</div>Save the changes.
Run
yarn devon the terminal to see the changes made in your local environment.
Similar steps were carried out for adding multiple categories of Companies.
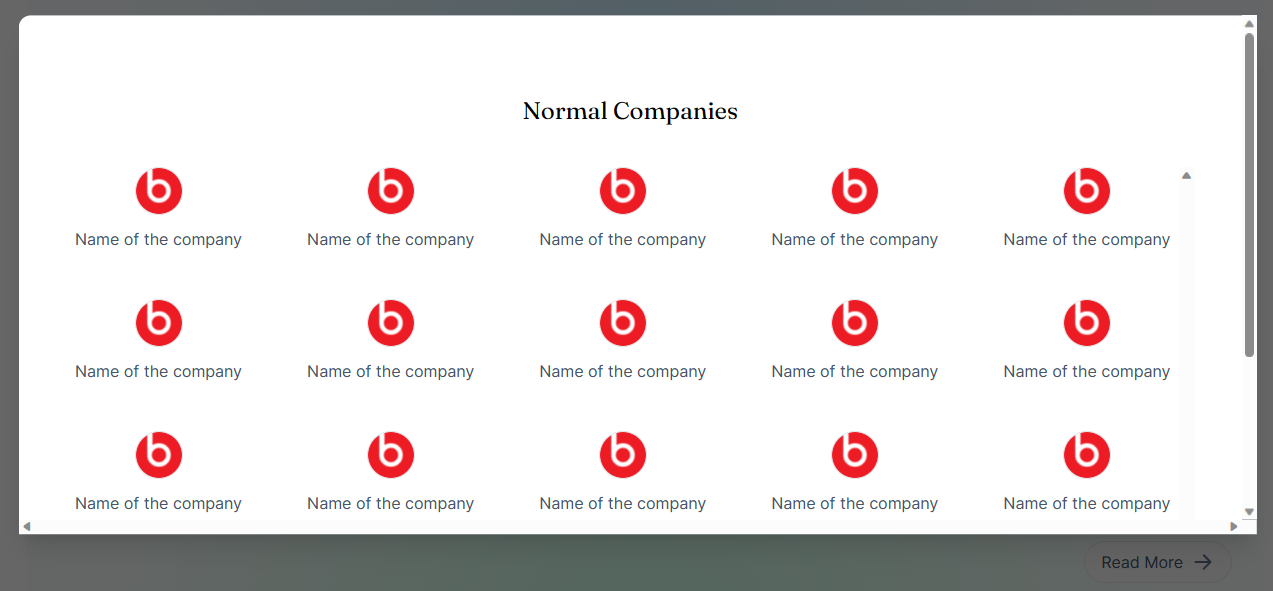
On executing the above steps, the Read More Section look like this:
Adding Company Details
How to add the company details
Opening
index.astrofile in theCompaniescomponent in our projects root directory.The
Propsinterface is defined, which specifies the prop types expected by the component. It is used to edit properties such ascompanies(an array of CompanyCardType),title(a string representing the section title),subtitle(an optional string for a subtitle), andbackground(a string representing the background color).index.astrointerface Props {
companies: CompanyCardType[];
title: string;
subtitle?: string;
// readMore?: boolean;
background: string;
}
const { companies, title, subtitle, background } = Astro.props;The
strippedCompaniesarray is mapped over to renderCompanyCardcomponents, passing theimgandnameprops. Conditional rendering is used to display theReadMorecomponent if the companies array length is greater than 12. Thetitleandcompaniesprops are passed to theReadMorecomponent.index.astro{
strippedCompanies.map((d) => {
return <CompanyCard img={d.img} name={d.name} />;
})
}
</div>
{
companies.length > 12 && (
<ReadMore title={title} client:load companies={companies} />
)
}Save the changes.
Run
yarn devon the terminal to see the changes made in your local environment.
The Companies section was succesfully executed! Let's move on and see how we created the Top Recruiters section of the TNP Website.