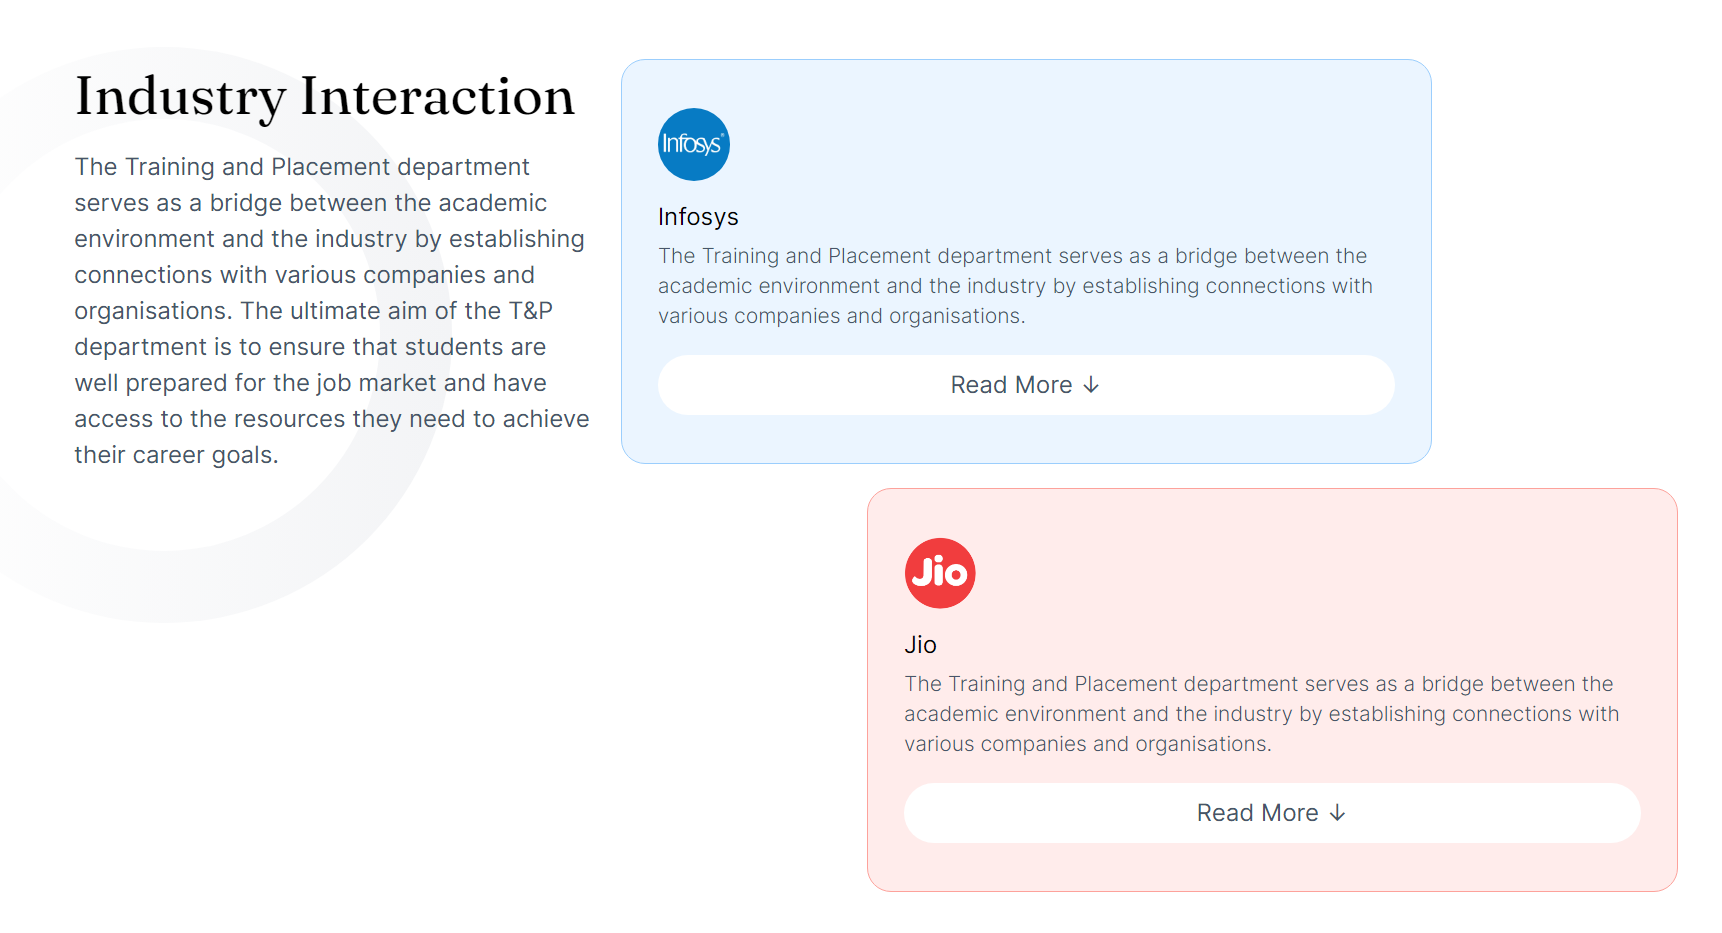
Internships
The Internship page of the website gives you information on various corporations that visit TCET to recruit students. To be more transparent, the website provides statistics on the number of companies that have visited and the number of students who got hired. It is accesible through the navigation bar of the TNP Website.
Adding Company Details
To add a company's information to the website, we need to edit the data array in the InternshipCompanies.tsx file. The data array is a collection of company information where each item represents a company and contains the name and image of the company's logo.
Here's how those changes were made:
Opening InternshipCompanies.tsx file in our projects root directory.
Locating the
dataarray. To add a company's details, we created a new object which would be defined as follows:InternshipCompanies.tsxconst data = [
{
caption: "Name of the company",
imgLink: "company-logo.svg",
}
]Editing the
captionproperty to include the name of the company andimgLinkproperty with the name of the file or URL for the company's logo.Save the file.
Run
yarn devon the terminal to see the changes made in your local environment.
Creating Company Card
Now that we have created data array, we need to create a card for each company featuring the company name and logo.
Here's how we proceeded with the steps:
Opening
CompanyCard.tsxfile.Propsis defined with two properties:imgLinkandcaptionboth of type "String".CompanyCard.tsxtype Props = {
imgLink: String;
caption: String;
};The functional component
CompanyCardis created which uses these props to display company logo and name.CompanyCard.tsxconst CompanyCard = ({ imgLink, caption }: Props) => {
return (
//Define the UI of the component
);
};The component will return a
<div>element which will create a vertical container with centered content and gap between child elements.CompanyCard.tsxconst CompanyCard = ({ imgLink, caption }: Props) => {
return (
<div className="flex flex-col items-center justify-center gap-3">
//Other elements comes here
</div>
);
};Within the
<div>element,<img>is used to display company logo and<p>element contains the name of the company as caption.CompanyCard.tsxconst CompanyCard = ({ imgLink, caption }: Props) => {
return (
<div className="flex flex-col items-center justify-center gap-3">
<img src={"/InternshipHero/" + imgLink} alt="company-logo" />
<p className="lg:text-base text-xs text-center text-slate-600">{caption}</p>
</div>
);
};Save the file.
Run
yarn devon the terminal to see the changes made in your local environment.
On executing the above steps, the individual cards look like this:

Displaying Companies
In this step, we need to create a card to display all the company cards created in the previous step. This step will help in listing all the companies that have conducted internship drives in TCET.
Opening InternshipCompanies.tsx file in our projects root directory.
Creating a react functional component
InternshipCompanieswhich will be defined as follows:InternshipCompanies.tsxconst InternshipCompanies: React.FC<{}> = () => {
return (
//Define the UI of the component
);
};A
<div>element is created which uses inline CSS style to set the background of the component. Within outer<div>,<h1>is created for the heading of the section-"Companies Offering Internships". It also contains nested<div>element with a class which serves as an underline below the heading.InternshipCompanies.tsxconst InternshipCompanies: React.FC<{}> = () => {
return (
<div style={{ background: "radial-gradient(42.83% 57.11% at 50% 100%, rgba(255, 225, 185, 0.7) 0%, rgba(255, 245, 232, 0.3) 100%)" }}>
<h1 className="relative pb-3 text-2xl 2xl:text-3xl text-center mb-12 font-title">
Companies offering Internships
<div className="absolute sm:top-12 top-16 left-1/2 -translate-x-1/2 lg:w-1/5 md:w-1/3 sm:w-1/2 w-full border-b border-slate-200"></div>
</h1>
</div>
);
};A
<div>is created below<h1>element to create grids for the company cards. A javascript expression"{data.map((d, index) => {.....})}"is used to mapdataarray to display each company card.InternshipCompanies.tsxconst InternshipCompanies: React.FC<{}> = () => {
return (
<div style={{ background: "radial-gradient(42.83% 57.11% at 50% 100%, rgba(255, 225, 185, 0.7) 0%, rgba(255, 245, 232, 0.3) 100%)" }}>
<h1 className="relative pb-3 text-2xl 2xl:text-3xl text-center mb-12 font-title">
Companies offering Internships
<div className="absolute sm:top-12 top-16 left-1/2 -translate-x-1/2 lg:w-1/5 md:w-1/3 sm:w-1/2 w-full border-b border-slate-200"></div>
</h1>
<div className="grid grid-cols-2 md:grid-rows-5 md:grid-cols-5 2xl:grid-cols-6 gap-x-6 gap-y-8 mb-12 pb-12">
{data.map((d, index) => {
return <CompanyCard key={index} imgLink={d.imgLink} caption={d.caption} />;
})}
</div>
</div>
);
};Save the file.
Run
yarn devon the terminal to see the changes made in your local environment.
After completing the above steps, the Internship Companies card looks like this:
We have successfully created Internships page. Let's proceed with the Industry Interaction section.