ATS Resume Template
The ATS Resume Template section is used as the main component in the Fourth section of the TCET Resume Screener website. The Ats_Resume component represents an ATS (Applicant Tracking System) Resume Template webpage Section. The Ats Resume Template component serves as the main entry point for the ATS Resume webpage. It defines the overall structure and layout of the resume including the arrangement of various sections, text content, images, and interactive elements in users resume. It giudes users how to feed resume while checking and give tips to users about resume template so accurate output of the test can be obtained.
Here's a breakdown of the code to understand it's functionality:
para Component
In this section we have defined an array variable para that stores guidelines or tips for creating an ATS-friendly resume. Each guideline is a string element in the array.
      const para = [
          `You want to make sure you stick to text and a standard font with minimal use of special characters. Notice the clean single-column design and how fancy formatting like tables, diagrams and graphs have been stripped out. ATS resume scanners either ignore these or read them incorrectly.`,
          // Similarly multiple paragraphs can be created
          ]
      // HTML markup
HTML Markup
This section represents the HTML-like structure of the ATS Resume component. It consists of the <section> element. A section container with various classes for styling. It contains two child <div> elements.
First div
First <div>: This div contains the main content of the resume template.
<h1>: The title of the resume template is displayed using theh1HTML tag. The title text is "ATS Resume Template".Nested
<div>: Thisdivis displayed on smaller screens (hidden on larger screens) and contains an image of the resume template and a download button. The image is specified using theimgtag with thesrcattribute pointing to "/Ats_resume/Frame.svg". The download button is represented by thebuttontag. The button text is "Download the Template".Guidelines and SVG icons: The component iterates over the
paraarray and displays each guideline as a paragraph. Each guideline is wrapped in a div. Additionally, there are SVG icons displayed alongside."Get an ATS Resume Test" link: The component provides a link that redirects users to a page to test their resume against an ATS scanner. The link text is "Get an ATS Resume Test".
Second div
Second <div>: This div is hidden on smaller screens (displayed on larger screens) and contains a duplicate image of the resume template and the download button.
// para Component
    <section class="lg:flex mx-auto justify-between lg:gap-24 lg:mx-0 bg-[#0C1030] p-4 lg:p-16">
      <div class="text-white flex flex-col lg:w-2/3 mt-0 lg:mt-2">
        <h1 class="font-rubik text-5xl pb-12">ATS Resume Template</h1>
        <div class="lg:order-first lg:hidden lg:w-1/3">
          <img src="/Ats_resume/Frame.svg" width="410" height="546" class="mx-auto w-full" alt="" />
          <button class="w-fit py-2 px-2 rounded bg-[#1D2939] hover:bg-[#1b222a] text-white mt-5" id="btn">
            Download the Template
          </button>
        </div>
        <div class="flex flex-col mt-4">
          <p class="pb-8 text-sm sm:text-base md:text-lg">
            Here are the guidelines we outlined above in practice.
          </p>
          {para.map((el) => (
          <div class="flex flex-row mx-auto ml-10">
            <div class="absolute mt-1 mx-auto -ml-7">
              <svg width="18" height="15" viewBox="0 0 18 15" fill="none" xmlns="http://www.w3.org/2000/svg">
                <path d="M12.25 0.5H7.75L12.75 7.5L7.75 14.5H12.25L17.25 7.5L12.25 0.5Z" fill="#444CE7" />
                <path d="M5.25 0.5H0.75L5.75 7.5L0.75 14.5H5.25L10.25 7.5L5.25 0.5Z" fill="#444CE7" />
              </svg>
            </div>
            <p class="pb-8 mr-0 md:mr-10 text-sm md:text-base">{el}</p>
          </div>
          ))}
          <a href="" class="bg-[#6938EF] hover:bg-[#46327c] w-fit mt-5 rounded py-3 px-2 text-center text-white mb-2">
            Get an ATS Resume Test</a>
        </div>
      </div>
      <div class="p-2 lg:order-first hidden lg:block lg:w-1/3">
        <img src="/Ats_resume/Frame.svg" width="410" height="546" class="mx-auto w-full" alt="" />
        <button class="w-fit py-2 px-2 rounded bg-[#1D2939] hover:bg-[#1b222a] text-white mt-5" id="btn">
          Download the Template
        </button>
      </div>
    </section>
// function Component
Function Component
This section includes a JavaScript code snippet that handles the button click event. It consists of the following:
handleClick1
handleClick1() function logs the message "Downloaded" to the console. It is executed when the button with the id "btn" is clicked.
DOMContentLoaded
DOMContentLoaded is a event listener. The code waits for the DOM to be fully loaded before executing. It gets the button element using document.getElementById("btn") and attaches a click event listener to it. When the button is clicked, it calls the handleClick1() function.
  // HTML markup
  <script>
          // Handle button click event
          function handleClick1() {
            console.log("Downloaded");
          }
          // Wait for the DOM to be loaded
          document.addEventListener("DOMContentLoaded", function() {
            // Get the button element
            const button = document.getElementById("btn");
            // Attach a click event listener to the button
            button && button.addEventListener("click", handleClick1);
          });
  </script>
Output Image
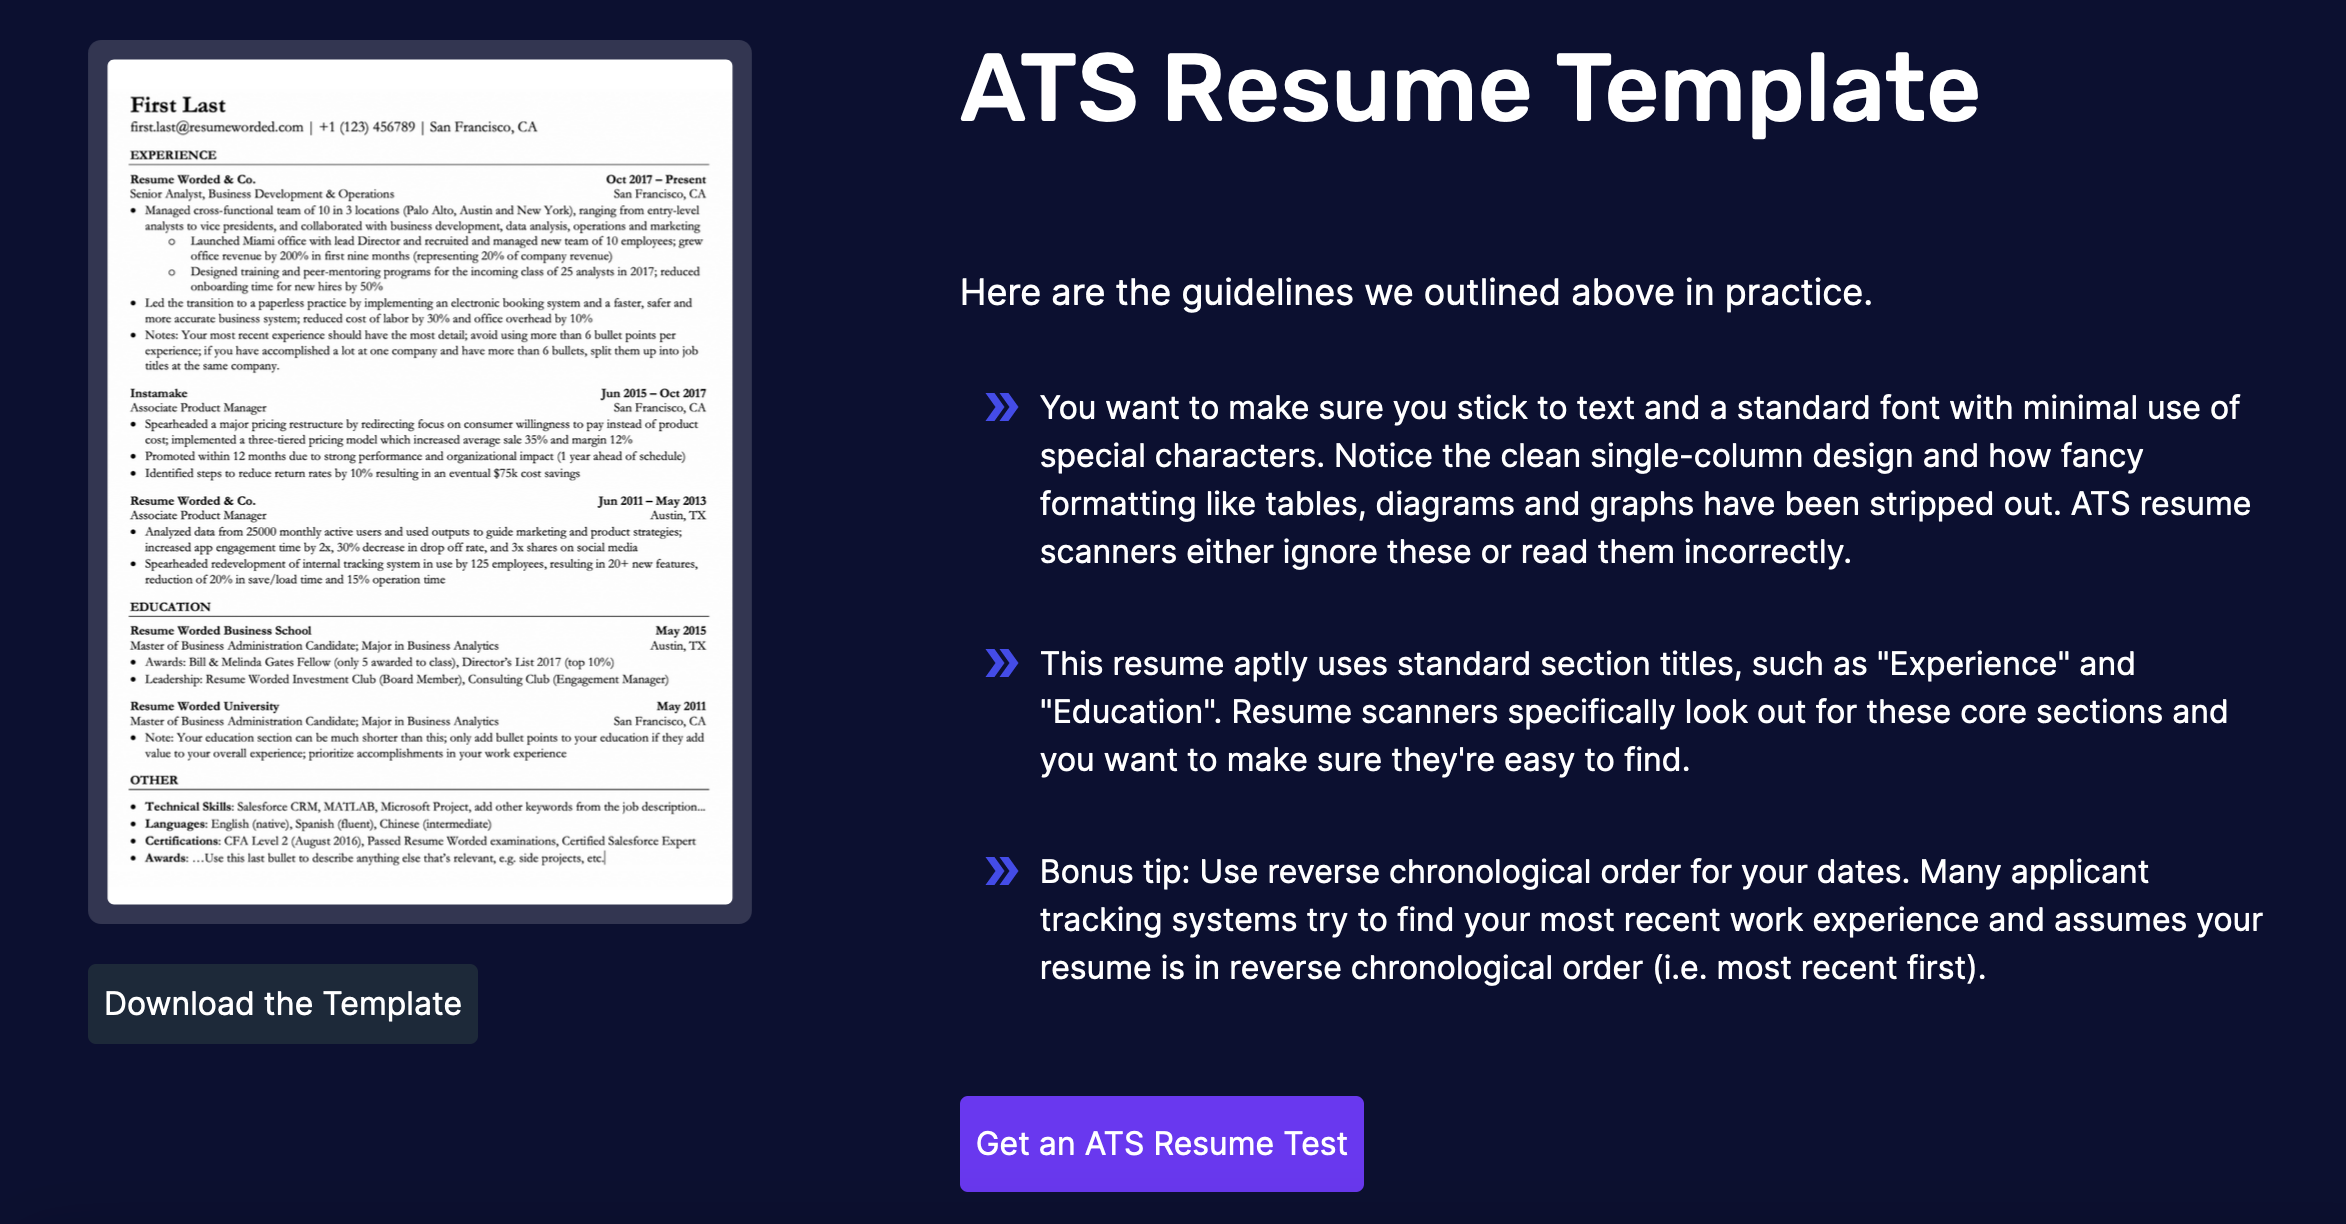
The ATS Resume Template Section of Home Page was succesfully executed! Let's move on and see how we created the Resume Test Section component of the TCET Resume Screener Website.