Header
The Header section is an informative element which is present at the top of every page of the website. It consists of Fill My Cycle Header, Dark Theme Icon and a Interactive Theme changer Logo making the overall interface of the webiste very convertible. Hence providing essential information and contributing to user-friendly experience. The "Fill My Cycle" Header, an artistic portrayal that speaks volumes, engaging the viewer in a captivating dialogue.
Fill My Cycle Header
The header is located at the upper centre portion of the page.
To display the fill my cycle header we need to follow the following steps:
Opening the index.html file.
In this section our prime focus is to obtain the fill my cycle header this can be found in the index.html code. Here we created different
<div>classses for classifying different parts of codes and simply used html to type the logo enclosed under<h3>tag and also used Styling to obtain the blue color.
    <div class="container">
       <div class="top-container">
          <header class="header">
              <h3 class="title">Fill My Cycle</h3>
- After following the above steps the header looks like this.

Theme changer
Making it very necessary for us as well to put theme changer to make user experience better and memorable.
Let's now understand it's code now:
Firstly open index.html file.
Here we have created
<div>class calledidbutton which has its value asDARKand it redirects to script.js and this button follows the image showing an icon of half moon which on clicking leads us to the dark theme.
<div id="btn-mode">
            <div><p id="mode-text">DARK</p></div>
            <div><img id="mode-icon" src="./assets/icons/moon-icon.svg" alt=""></div>
</div>
Now let's open script.js.
Here we have used if-else statement here, if darkMode is equal to false, it means the dark mode is currently off. In that case, the
darkModeProp()function is called.
const root = document.documentElement.style;

document.addEventListener('DOMContentLoaded', function() {
    let btnMode = document.getElementById('btn-mode');
    let modetext = document.getElementById("mode-text");
    const modeicon = document.getElementById("mode-icon")
    let darkMode = false;

    btnMode.addEventListener('click', function() {
        if (darkMode == false) {
            darkModeProp();
          } else {
            lightModeProp();
          }
    } );
- Function
darkModePropsets the style properties to define the dark mode appearance, updates the mode text to "LIGHT", changes the mode icon to a sun, and setsdarkModeto true and uses the parameters given in the code. IfdarkModeis not equal to false it means dark mode is currently on.
const root = document.documentElement.style;

    function darkModeProp() {
        root.setProperty("--lm-bg", "#131414");
        // It's followed by similar parameters defined to obtain Dark Theme
        modetext.innerText = "LIGHT";
        modeicon.src = "./assets/icons/sun-icon.svg";
        root.setProperty("--lm-icon-bg", "brightness(1000%)");
        darkMode = true;
        localStorage.setItem("dark-mode", true);
    }
In the very same way we have also created for how to switch the user interface back to light mode, just changed the paramters values.
Help
The Need Help or the Click here to see instructions is provided just below the fill my cycle.
This is a clickable button which when the user clicks takes him directly to the instructions components
Now lets understand it's code by opening index.html file
Overall, the code represents a row with a form that has a heading saying "Need Help?" and a button when the user clicks leads him to instructions part.
The
<div>class sets the styling and padding of the Need Help text , this text is followed by a clickable button.
<div class="row">
        <div class="col-sm-6 col-sm-offset-3 col-xs-12">
            <form class="form-inline" action="" onsubmit="return false">
                <div class="row">
                    <h5 class="mrg">Need Help? <button class="btn btn-success btn-xs instr-ref">Click here to see instructions</button></h5>
                </div>
After adding the fill my cycle header, theme changer button and need help button the header will look something like this:
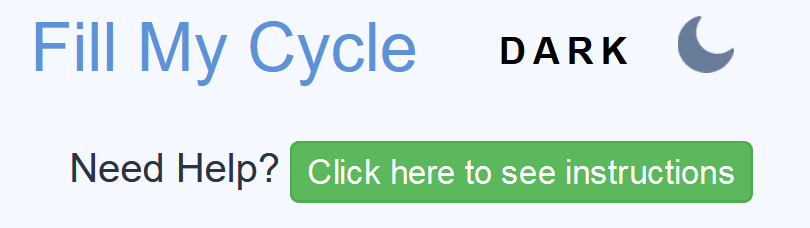
The Header Section is succesfully executed! Let's move on and see how we created the Defining cycles of the Fill My Cycle.